If you use a webcam whiteboard for meetings, classes, or demos, the goal is simple: keep the board readable, steady, and free of glare. A few small setup changes can make a huge difference in video call quality. In this guide, you’ll learn how to position your camera, improve lighting, reduce reflections, and fix common issues like a weak signal, a missing mic, or a webcam that won’t turn on.
📖 Table of Contents
- Why a webcam whiteboard setup matters
- Set up the webcam whiteboard angle the right way
- Improve lighting and reduce glare
- Optimize your camera settings for clearer text
- Fix common call-day issues before you join
- Best practices for readable notes and smooth sharing
- Quick setup checklist before your next call
- FAQ
- Conclusion
📌 Key Takeaways
- Place the webcam at an angle that keeps the whiteboard flat, bright, and easy to read.
- Use even lighting and avoid direct glare from windows or overhead lights.
- Check camera, mic, and privacy settings before the call so your setup works the first time.
- If the image is blurry or dark, small changes in distance, angle, and exposure often fix it fast.
Why a webcam whiteboard setup matters
A whiteboard can look clear in person and still be hard to read on a video call. The camera angle, room light, and board finish all affect how much detail viewers can see. If your frame is off by even a little, markers can fade, glare can wash out text, and notes can become hard to follow.
The good news is that you do not need a fancy studio setup. A stable mount, a clean board, and smart lighting choices can make a basic office, classroom, or home setup work well. The main goal is to help people see the writing without distractions.
Before you start, decide what matters most: full-board view, close-up writing, or a speaker plus board view. That decision shapes where the camera goes and how much zoom you need.
Set up the webcam whiteboard angle the right way
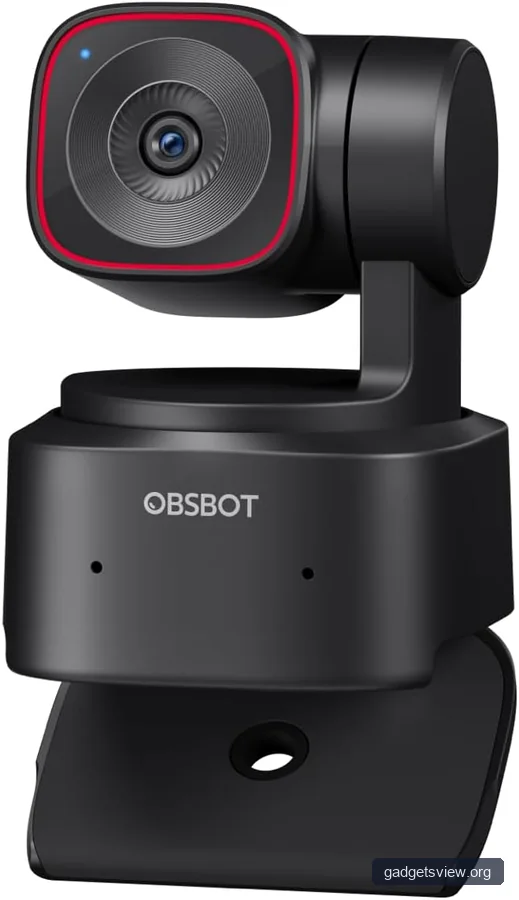
The best setup is usually one where the camera is centered on the board and aimed straight at it. This reduces distortion and helps keep lines and text easy to read. If the camera is too far to one side, the board can look slanted and harder to follow.
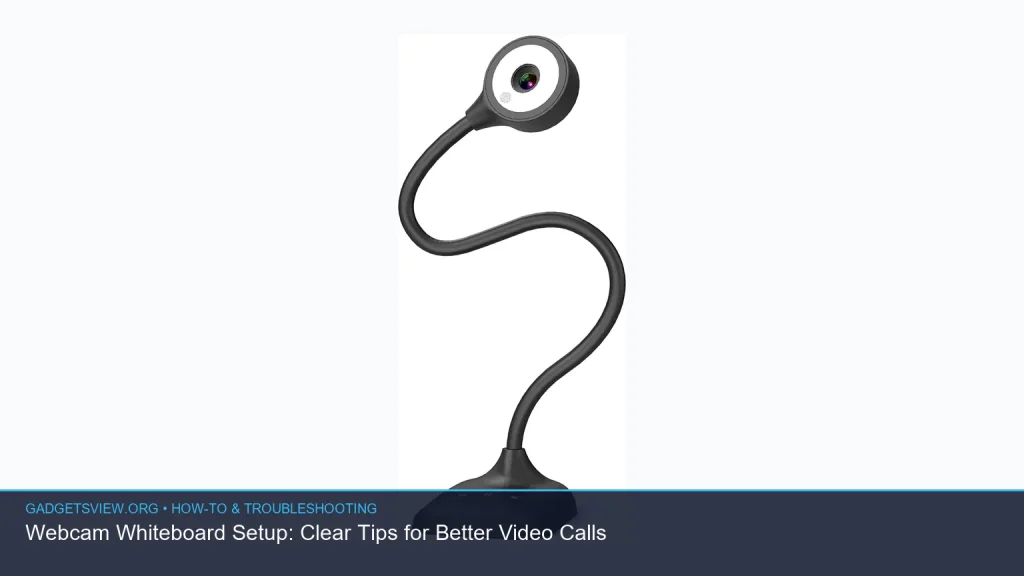
If you are using a laptop camera, place the laptop so the webcam looks directly at the board. If you use an external webcam, mount it on a tripod, shelf, or clamp with a stable view of the full board. A slightly higher position often works better than a low one because it reduces hand shadows and keeps the frame clean.
Simple framing rules
- Keep the whiteboard centered in the camera view.
- Leave a small border around the board so no writing gets cut off.
- Make sure the camera is level, not tilted downward at a steep angle.
- Test with a few sample notes to see if the text is readable on another screen.
For hybrid meetings, you may want both your face and the board visible. In that case, widen the frame a bit and place yourself beside the board rather than in front of it. That keeps the content clear while still showing who is speaking.
Improve lighting and reduce glare
Lighting is one of the biggest factors in webcam whiteboard clarity. Too little light makes the image grainy. Too much light, especially from one direction, can create hot spots that hide marker strokes.
Try to use soft, even lighting from the sides or front of the room. If possible, avoid a bright window directly behind the board or the camera. Overhead lights can work, but they often create glare on glossy whiteboards, so you may need to move the board or adjust the angle.
Best lighting habits
- Use two balanced light sources when you can.
- Close blinds or curtains if sunlight causes reflections.
- Lower glare by tilting the board slightly or shifting the camera position.
- Choose matte markers when available, since some ink reflects less than others.
If the board still looks washed out, lower the room brightness a little and let the camera adjust. Many webcams have auto exposure settings that try to compensate, but these settings can overcorrect. A quick manual tweak in the camera app often gives a cleaner result.
Optimize your camera settings for clearer text
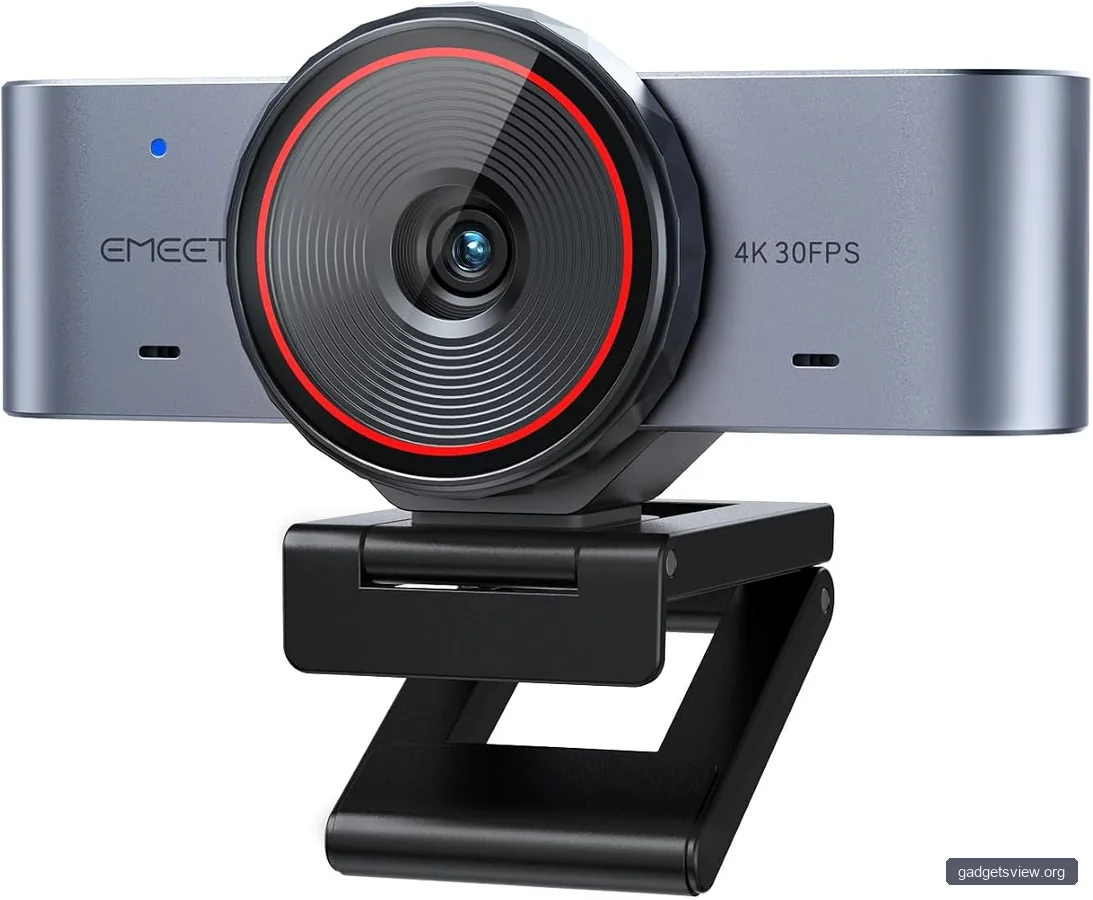
Good framing and lighting help, but camera settings can make or break the final image. Start by checking resolution, focus, and exposure in your webcam or meeting app. If the board is fuzzy, the issue may be digital zoom, autofocus, or a low-quality preview setting rather than the board itself.
Whenever possible, use the highest stable resolution your call app supports. High resolution does not fix bad lighting, but it can make handwriting sharper and diagrams easier to read. Also, avoid unnecessary zoom if it softens the image.
| Setting | What it helps with | Watch out for |
|---|---|---|
| Resolution | Sharper text and lines | Higher resolution can strain weak connections |
| Exposure | Brighter board visibility | Too much exposure can wash out writing |
| Focus | Keeps text crisp | Autofocus may hunt if you move too much |
| White balance | More natural board color | Wrong settings can tint the board blue or yellow |
If your webcam app includes “auto” controls, start there and then adjust one setting at a time. That makes it easier to see which change actually improved the image. Small, careful changes usually work better than large ones.
Fix common call-day issues before you join
Even a solid webcam whiteboard setup can fail if the laptop settings are off. That is why it helps to run a quick check before the meeting starts. Test video, audio, and permissions together, not one at a time.
If you are on a Windows laptop, one common question is how to turn on webcam in hp laptop. On many HP systems, the camera may be disabled in privacy settings, blocked by browser permissions, or controlled through function keys or HP software. If the camera is not showing up, check the app permissions first, then confirm the device is enabled in system settings.
Troubleshooting table
| Problem | Likely cause | Quick fix |
|---|---|---|
| Webcam not detected | Permission, driver, or privacy block | Check app access, restart, and reconnect the camera |
| Board looks blurry | Bad focus, low resolution, or motion blur | Refocus, stabilize the camera, and improve light |
| Image is washed out | Glare or overexposure | Change angle, close blinds, lower exposure |
| No one can hear you | Muted mic, wrong input, or device issue | Check input source and test a different app |
If you see the webcam light on but the picture is blank or frozen, do not assume the camera is fine. The light only means the camera has power or is active. The app may still be blocked, frozen, or using the wrong device.
If you also have a laptop microphone not working issue, check the input source, mute button, browser permissions, and operating system privacy settings. Sometimes the microphone is set to the wrong device, especially after plugging in headphones or joining a new meeting app. A quick test recording can help confirm whether the problem is the app or the hardware.
Best practices for readable notes and smooth sharing
Once the camera is working, the next step is making the board easy to use live. Write larger than you would for people in the room. Simple headings, short bullets, and clear spacing help remote viewers follow along.
Keep the board organized into sections so the camera can capture meaning fast. If the board fills up, erase only one section at a time. That avoids sudden loss of context and helps viewers stay oriented during the call.
Useful habits during the meeting
- Use dark marker colors for stronger contrast.
- Avoid writing too close to the edges of the board.
- Pause after each major point so remote viewers can read.
- Check the preview window once before you begin speaking.
If you share slides and a whiteboard in the same session, keep the transition simple. Switching too often between windows, cameras, and documents can confuse viewers. A clean, steady layout is usually better than a complicated one.
Quick setup checklist before your next call
Use this fast check before you go live. It takes only a minute or two, but it can prevent most webcam whiteboard problems.
- Place the board in a bright, even light.
- Center the camera and level the frame.
- Check for glare from windows or lamps.
- Test focus, exposure, and resolution.
- Confirm webcam, mic, and app permissions.
- Do a short test call or recording.
If something still looks off, change only one variable at a time. That makes it much easier to find the real cause. In many cases, a small shift in angle or lighting solves the problem right away.
FAQ
What is the best angle for a webcam whiteboard?
The best angle is usually straight on or only slightly above the board. This keeps text easier to read and reduces distortion. If glare is a problem, try a small tilt or move the camera a bit to the side.
Why does my whiteboard look blurry on video calls?
Blurry board images often come from poor focus, low light, or camera movement. Improve lighting first, then check the webcam focus and resolution. If the board is far away, zooming in too much can also soften the image.
Why is my webcam light on but nothing shows up?
A webcam light on signal usually means the camera has power, but it does not guarantee the app is using it correctly. Check privacy permissions, select the right camera in the meeting app, and restart the app if needed. If the problem continues, try the camera in another app to isolate the issue.
How do I fix a laptop microphone not working during a call?
Start by checking whether the correct input device is selected in your call app and system settings. Then confirm the mic is not muted and that browser or app permissions allow access. If it still fails, test with headphones or another app to see whether the issue is device-related.
How to turn on webcam in HP laptop if it is disabled?
If you need to know how to turn on webcam in hp laptop, begin with privacy settings, app permissions, and any camera hotkeys or HP utility settings. If the camera still does not appear, restart the computer and check device manager or the camera app for errors. Exact steps can vary by model, so verify with your laptop’s support guide when needed.
Conclusion
A clear webcam whiteboard setup comes down to four things: good framing, even light, proper camera settings, and a quick pre-call check. If the board is readable in your preview, it will usually work well for everyone else too. Start with the simple fixes first, then fine-tune as needed.
Before your next meeting, run the checklist, test the mic, and confirm the webcam is active. A few small adjustments can turn a hard-to-read board into a clear, useful part of the call.