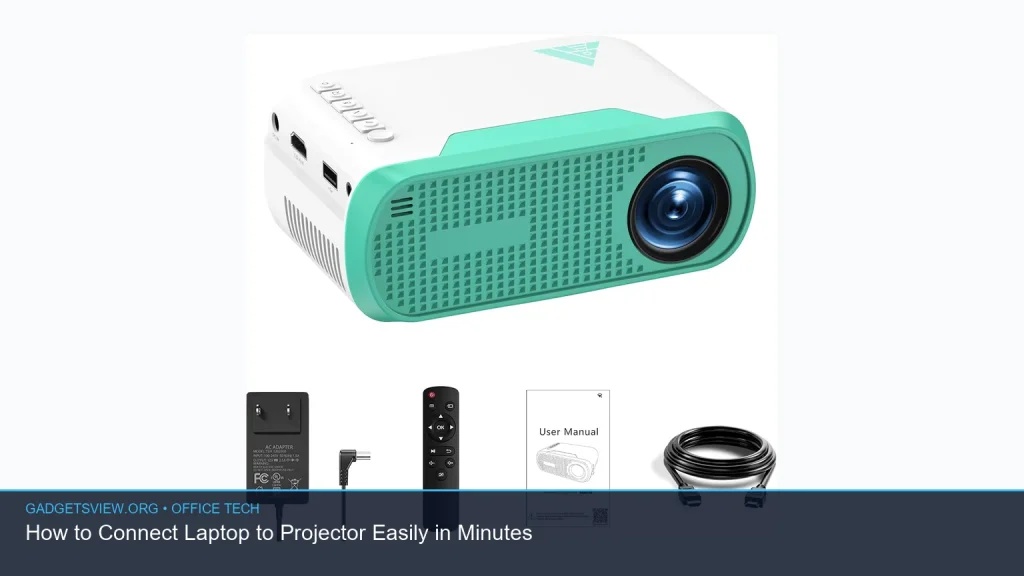
If you need to know how to connect laptop to projector, the good news is that it usually takes only a few minutes. In most cases, you just match the right port, connect the cable or adapter, choose the correct input on the projector, and select the display mode on your laptop. The exact steps depend on whether you use HDMI, USB-C, DisplayPort, VGA, or a wireless setup. This guide walks you through the easiest methods, common mistakes, and quick fixes so you can get your presentation, movie, or meeting on screen fast.
📖 Table of Contents
- Start With the Right Connection Type
- How to Connect Laptop to Projector Step by Step
- Wired Connections: The Most Reliable Way to Present
- How to Set the Right Display Mode
- Troubleshooting When the Projector Does Not Show Anything
- Wireless Projector Setup: When You Want Fewer Cables
- Best Practices Before a Presentation
- FAQ
- Conclusion
📌 Key Takeaways
- The fastest way to connect is usually HDMI, since it carries both video and audio in one cable.
- Always match the laptop output, the projector input, and the display mode on your computer.
- If the screen stays blank, the issue is often the wrong input source, a loose cable, or the wrong display setting.
- Wireless connections work well for convenience, but wired setups are usually more reliable for meetings and presentations.
Start With the Right Connection Type
The first step in how to connect laptop to projector is checking which ports both devices have. Many newer laptops use HDMI or USB-C, while older projectors may still rely on HDMI, VGA, or DisplayPort. If the ports do not match, you may need an adapter or a docking solution.
Before you plug anything in, look at the labels near each port. This helps you avoid forcing the wrong cable and makes setup much faster.
Common laptop-to-projector connection options
- HDMI: The most common choice for modern laptops and projectors.
- USB-C: Often used on newer laptops, especially when the port supports video output.
- DisplayPort: Found on some business laptops and office projectors.
- VGA: An older analog option still found in some meeting rooms.
- Wireless: Useful when you want fewer cables, but setup can vary by device.
How to Connect Laptop to Projector Step by Step
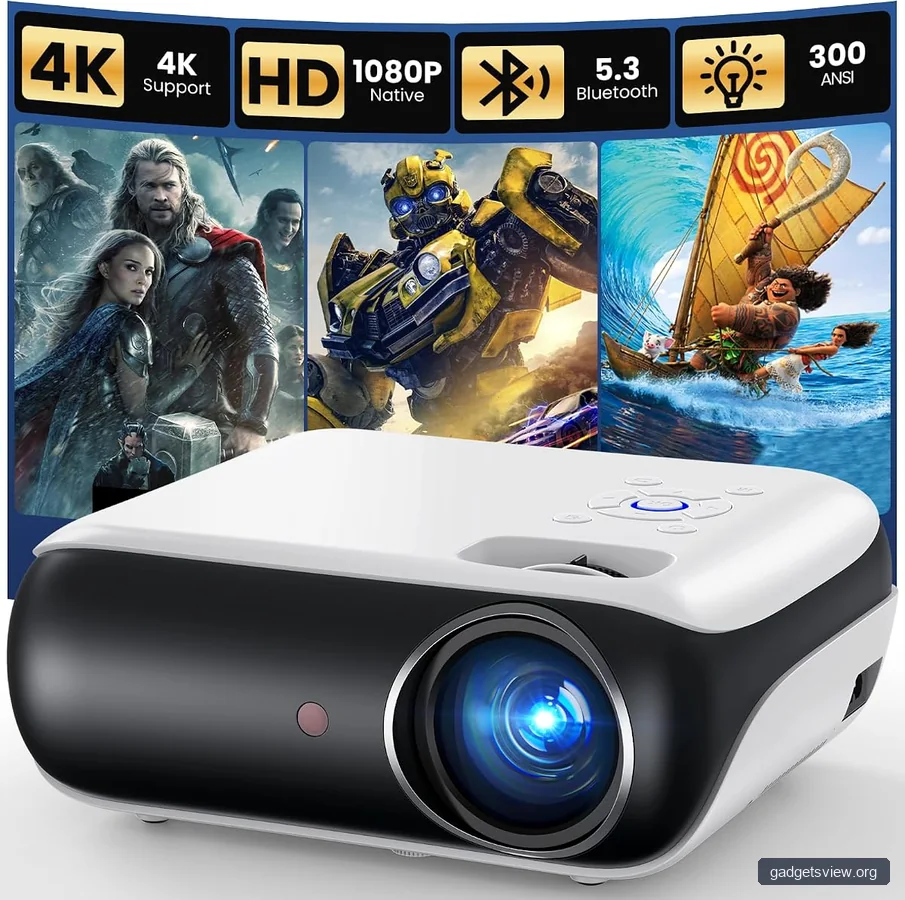
Once you know which connection you are using, the setup is simple. The basic process is the same for most laptops, whether you use Windows or macOS.
- Turn on the projector. Let it finish booting before changing settings.
- Connect the cable or adapter. Plug one end into the laptop and the other into the projector.
- Select the correct projector input. Use the projector remote or buttons to choose HDMI, VGA, USB-C, or another matching source.
- Wait for the laptop to detect the display. Most systems switch automatically or show display options right away.
- Choose your display mode. Use mirror, duplicate, extend, or second screen only, depending on your goal.
- Adjust resolution if needed. If the image looks stretched or blurry, set a supported resolution.
If the image appears right away, you are done. If not, move to the troubleshooting steps below before assuming something is broken.
Wired Connections: The Most Reliable Way to Present
For office meetings, training sessions, and classrooms, wired connections are usually the safest choice. They are less likely to drop out than wireless options and are easier to set up when time is short. HDMI is the preferred first choice in most cases because it is common and simple.
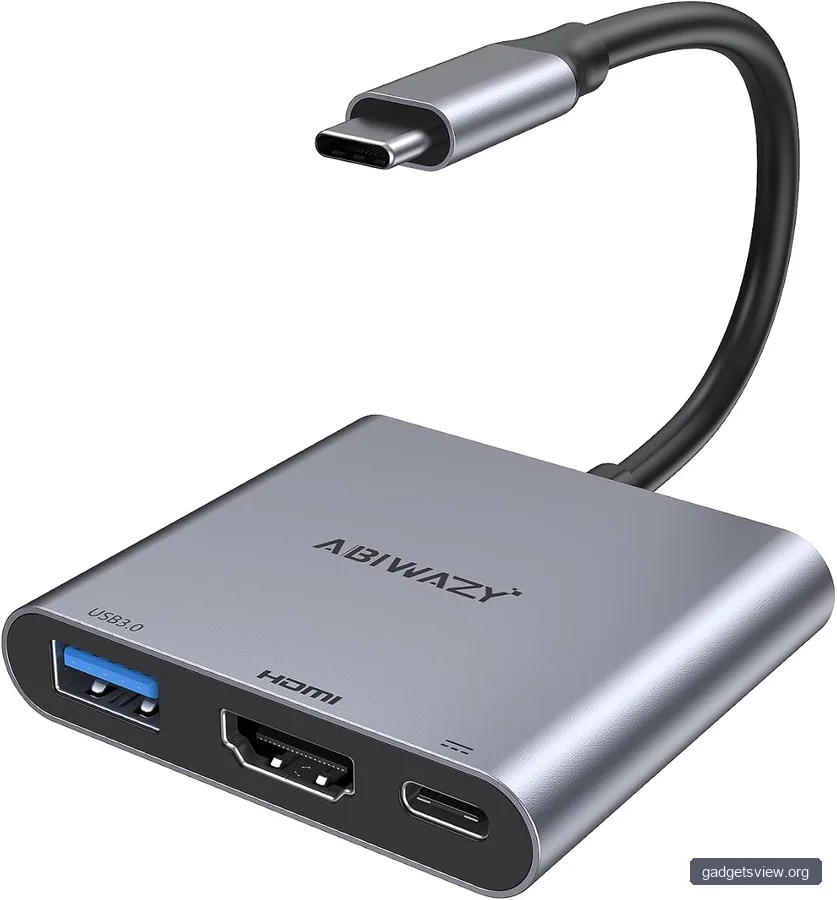
If your laptop does not have a matching port, use a compatible adapter, such as USB-C to HDMI or USB-C to VGA. Just make sure the adapter supports video output, since not every USB-C cable does.
| Connection type | Best for | Strengths | Limitations |
|---|---|---|---|
| HDMI | Most modern laptops and projectors | Simple, common, carries audio and video | May need adapters for older devices |
| USB-C | Newer laptops with video-capable USB-C | One-cable convenience on supported devices | Not every USB-C port supports display output |
| VGA | Older projectors and legacy meeting rooms | Widely supported on older equipment | Video only, lower image quality than digital options |
| Wireless | Quick sharing and flexible rooms | No cable clutter, easy screen sharing | Can be less stable and may need app setup |
Who should choose what: choose HDMI if both devices support it; choose USB-C if your laptop and projector both support video over USB-C; choose VGA only when working with older equipment; choose wireless if convenience matters more than perfect stability.
How to Set the Right Display Mode
After the physical connection is made, your laptop still needs to know how to use the projector. This is where display mode matters. The right choice depends on whether you want the same image on both screens or a larger workspace.
For presentations, duplicate or mirror mode is usually best. For multitasking, extended mode gives you extra desktop space.
Display mode basics
- Duplicate / Mirror: Shows the same screen on the laptop and projector.
- Extend: Turns the projector into a second screen.
- Second screen only: Uses only the projector and turns off the laptop display.
On Windows, you can usually open display options with the keyboard shortcut for projecting to a second screen. On Mac, display choices are found in system display settings. If the projector shows a black screen, the laptop may be sending the image to the wrong display mode.
Troubleshooting When the Projector Does Not Show Anything
If you are still stuck, do a quick check in a simple order. Most projector problems are caused by one of a few easy-to-fix issues, not a major hardware failure. Start with the basics before changing advanced settings.
| Problem | Likely cause | What to do |
|---|---|---|
| Blank screen | Wrong input selected on the projector | Choose the matching source, such as HDMI or VGA |
| No signal message | Cable not fully seated or adapter issue | Reconnect both ends and test another cable if available |
| Image but no sound | Audio output still set to laptop speakers | Switch the audio output to HDMI or external display audio |
| Fuzzy or cut-off image | Unsupported resolution or scaling | Lower the resolution or adjust aspect ratio settings |
Also check whether the projector lamp or power indicator shows normal status. If the projector is still warming up or in sleep mode, it may not accept a signal yet. If you are using an adapter, test another one if possible, since adapter failure is a common issue.
Wireless Projector Setup: When You Want Fewer Cables
Wireless sharing can be a good option when you move between rooms or want a cleaner setup. It is especially useful for quick screen casting in offices and classrooms. That said, the steps depend on the projector brand, laptop operating system, and network setup.
In general, wireless projection works best when both devices are on the same network and the projector supports the sharing method your laptop uses. For important presentations, test the connection before your audience arrives.
Wireless setup tips
- Confirm that the projector supports wireless display.
- Make sure the laptop and projector are on the same Wi-Fi network if required.
- Open the projector app or casting menu before starting the presentation.
- Keep a cable nearby in case the wireless connection becomes unstable.
Wireless is about convenience, but wired is still the better choice when you need the most dependable connection. If your meeting is important, it helps to have both options ready.
Best Practices Before a Presentation
A few small checks can save a lot of stress. Before you present, connect early and confirm that the screen is readable from the back of the room. This gives you time to fix font size, contrast, or resolution before people arrive.
You should also close anything private on your laptop if you plan to use duplicate mode. If you are using extend mode, make sure the presentation window opens on the correct screen.
- Test the connection a few minutes before the meeting.
- Bring the right cable or adapter for your laptop.
- Check projector input and laptop display mode.
- Set a readable resolution and font size.
- Keep a backup connection option if possible.
FAQ
Why won’t my laptop detect the projector?
The most common reasons are a loose cable, the wrong projector input, or an unsupported adapter. Start by reconnecting both ends, then check the projector source menu. If that does not work, try another cable or restart the laptop with the projector already connected.
Do I need a special adapter to connect my laptop to a projector?
Only if your laptop port and projector input do not match. For example, a USB-C to HDMI adapter may be needed if your laptop does not have HDMI. Make sure the adapter supports video output, since some cables only charge devices or transfer data.
Can I connect a laptop to a projector without HDMI?
Yes. Many setups still use USB-C, DisplayPort, VGA, or wireless casting. The best choice depends on the ports available on both devices and whether your laptop supports video through that connection.
Why does the projector show the desktop but not videos or streaming apps?
Some video apps use protected playback settings that can behave differently on external displays. Try a different display mode, close and reopen the app, or test with another video file. If the issue continues, update your display driver and app.
What is the easiest connection for most people?
HDMI is usually the easiest because it is common, simple, and carries both picture and sound. If your laptop supports USB-C video output and your projector has USB-C input, that can also be a very clean option.
Conclusion
Learning how to connect laptop to projector is mostly about using the right port, selecting the correct input, and choosing the right display mode. In most cases, a good HDMI cable or the right adapter gets you set up quickly. If the screen does not appear right away, check the source, cable, and display settings before assuming there is a bigger issue. For the smoothest result, test the setup early and keep a backup connection option ready.