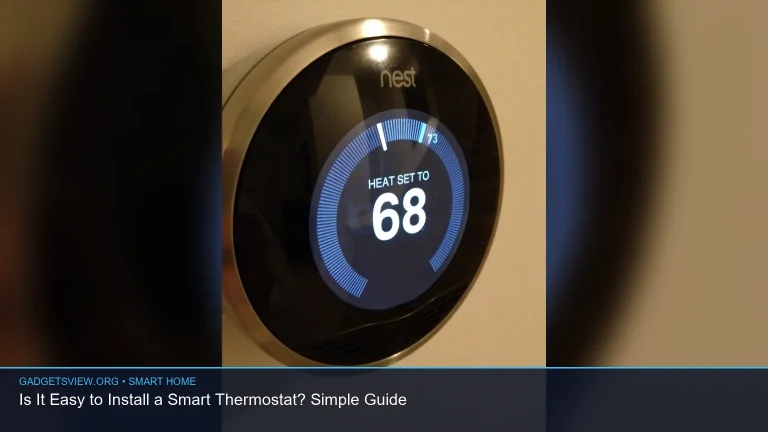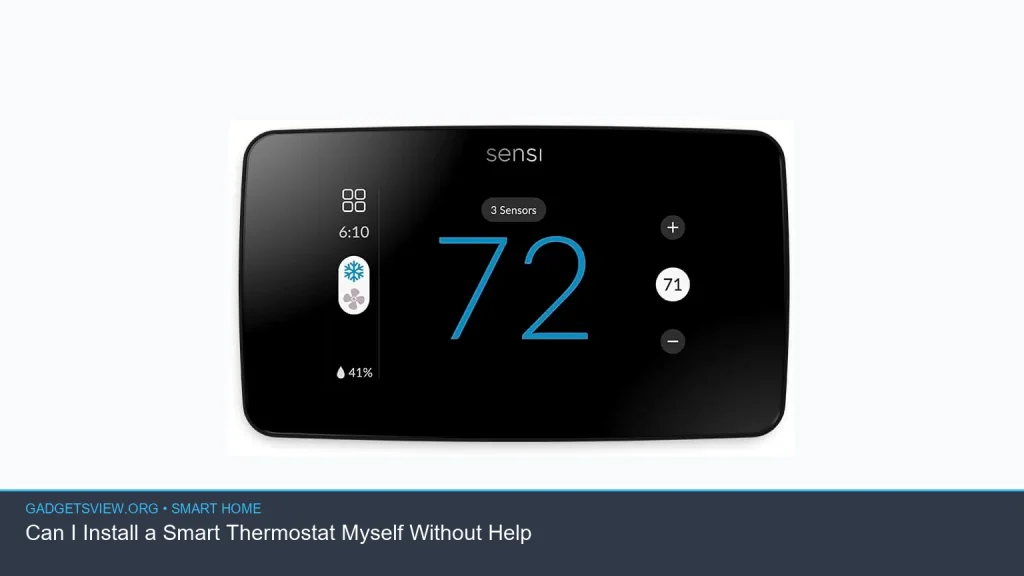
If you’re asking, can I install smart thermostat myself, the short answer is often yes — if your HVAC system is compatible and you’re comfortable turning off power, labeling wires, and following instructions closely. Many homeowners can do it in under an hour, but some systems need special wiring or professional help. The biggest factors are not the thermostat brand, but your existing wiring, your heating and cooling setup, and whether you have a C-wire or another power solution. This guide helps you decide, avoid common mistakes, and know when to stop and call an HVAC pro.
📖 Table of Contents
📌 Key Takeaways
- Many smart thermostats are DIY-friendly, but compatibility with your HVAC system is the first thing to check.
- Turn off power at the breaker before touching any thermostat wiring.
- Label each wire before removal so you can reconnect it correctly.
- If your system has no C-wire, uses high-voltage heating, or has unusual wiring, professional help may be the safer choice.
Can I Install Smart Thermostat Myself? Start With Compatibility
Yes, you may be able to install a smart thermostat yourself, but only if your existing system supports it. A thermostat does not work alone; it must match the type of heating and cooling equipment in your home. That includes forced-air furnaces, central air systems, heat pumps, boiler systems, and in some homes, multi-stage equipment.
The safest first step is to remove your current thermostat cover and look at the wiring. You want to see low-voltage thermostat wires, not a line-voltage setup used by some electric baseboard heaters. If you are unsure, stop there and verify the system type before moving forward.
Signs your setup may be DIY-friendly
- Your old thermostat has labeled low-voltage wires.
- Your HVAC system is a standard furnace and central air setup.
- You have clear terminals such as R, W, Y, G, and possibly C.
- The new thermostat instructions say your system is supported.
Signs you may need help
- You see thick wires or line-voltage wiring.
- Your system has many unlabeled or unusual terminals.
- You have a heat pump with auxiliary or emergency heat and are not sure how it is wired.
- Your home uses proprietary or older control systems that are not well documented.
What You Need Before You Start
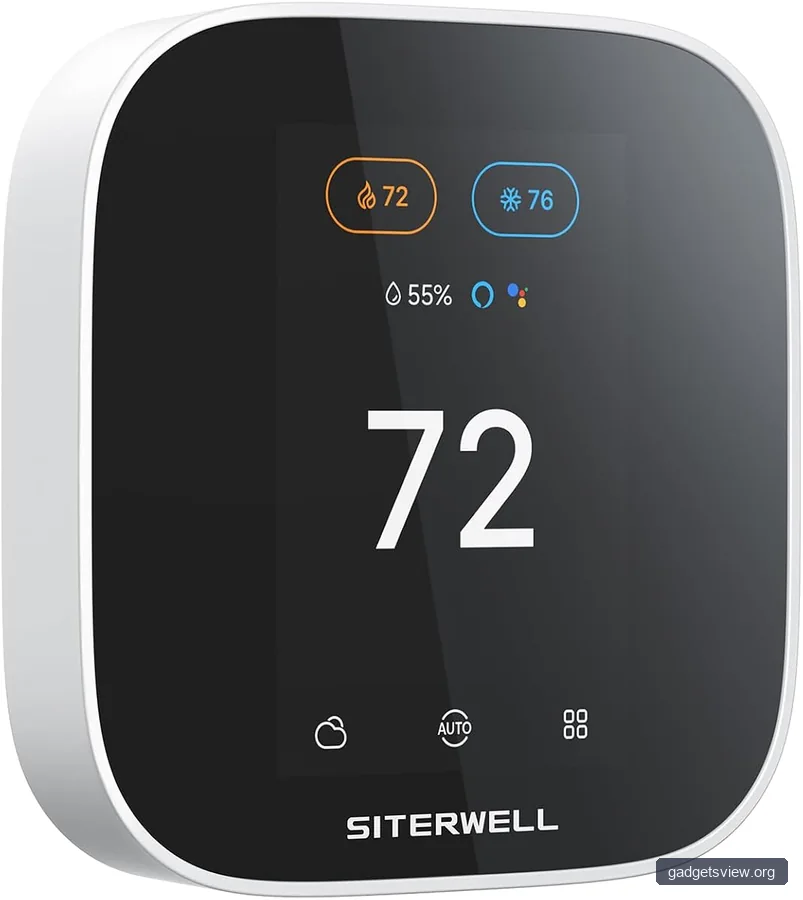
Before you touch the thermostat, gather the right tools and confirm the new unit’s instructions. This makes the process smoother and lowers the risk of wiring mistakes. Read the installation guide fully before starting, even if the steps seem simple.
You will usually need a screwdriver, a phone camera, a flashlight, and possibly a drill if the old mounting holes do not line up. Having painter’s tape or wire labels helps keep the wires organized. A small level can also help if the new thermostat base needs to sit straight on the wall.
| What to check | Why it matters | DIY or pro? |
|---|---|---|
| System type | Smart thermostats do not fit every HVAC setup | DIY if clearly supported |
| Voltage level | Low-voltage and line-voltage systems are not handled the same way | Pro if unsure |
| C-wire availability | Some smart thermostats need constant power | DIY if instructions cover adapters; pro if wiring is unclear |
| Wall condition | Old holes or damaged drywall may affect mounting | DIY with basic tools |
How to Install a Smart Thermostat Yourself
If your system is compatible, the installation process is usually straightforward. Still, take your time. The most common problems come from skipping steps, mixing up wires, or restoring power too early.
- Turn off power at the breaker. Do not rely on the thermostat being set to “off.” Shut off power to the HVAC system before you remove anything.
- Remove the old thermostat cover. Take a clear photo of the wiring before disconnecting any wires. That photo is your backup if labels fall off.
- Label every wire. Match each wire to its terminal letter and tag it. Even if the wires seem obvious, label them anyway.
- Detach the old base. Keep the wires from falling back into the wall. You may need tape to hold them in place.
- Mount the new base. Use the included screws and anchors if needed. Check that the base is level and secure.
- Connect the wires. Follow the manufacturer’s wiring diagram exactly. Do not guess if a terminal looks different from your old setup.
- Attach the thermostat and restore power. Once everything is connected, turn the breaker back on and follow the setup prompts.
- Test heating and cooling. Run both modes if your system supports them. Confirm that the fan, heat, and cool functions respond as expected.
Be careful with the C-wire
The common wire, often called the C-wire, gives many smart thermostats the steady power they need. Some homes already have one in the wall, while others do not. If your chosen thermostat needs a C-wire and your system does not have one, do not improvise wiring unless the manufacturer specifically allows a safe adapter or alternative method.
If the guide suggests an add-a-wire kit or power extender, follow the instructions closely. If you are not comfortable identifying terminals or tracing control wiring, this is a good point to bring in an HVAC technician.
When DIY Makes Sense, and When It Does Not
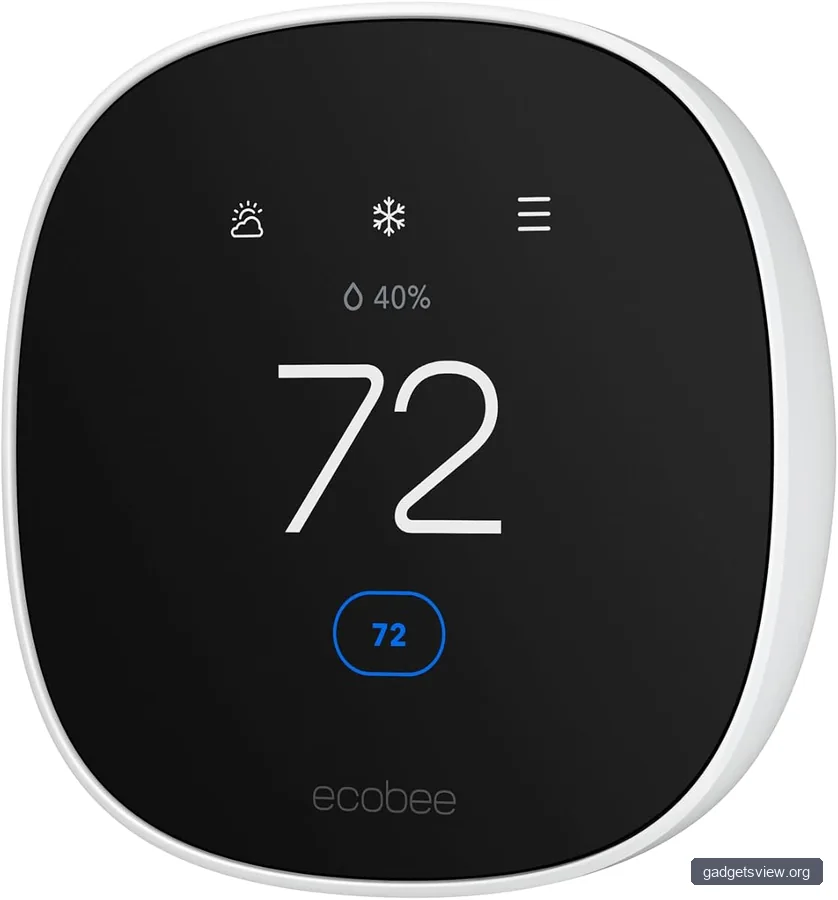
Many homeowners can handle a basic thermostat swap. The job is usually simpler than replacing HVAC equipment, because you are working with control wiring rather than refrigerant lines or major mechanical parts. But “simple” does not mean “universal.”
The decision depends on your skill level, your system type, and your comfort with electrical safety. If the installation guide is clear and the wiring matches what you expect, DIY is reasonable. If anything looks unusual, take that as a warning sign rather than a challenge.
| Scenario | Best choice | Why |
|---|---|---|
| Standard low-voltage system with clear wiring | DIY | Usually a simple swap with basic tools |
| No C-wire, but the thermostat supports an adapter | DIY if instructions are clear | Possible, but requires careful setup |
| Line-voltage heating or unfamiliar wiring | Professional install | Higher risk of damage or unsafe connection |
| Heat pump with complex auxiliary heat setup | Either, depending on skill | DIY is possible, but wiring must be correct |
Common Problems After Installation
Even a careful installation can have a few hiccups. The good news is that most issues are easy to troubleshoot if you start with the basics. Always turn the power back off before rechecking any wiring.
If the thermostat does not power on, the most likely causes are a missing C-wire connection, a breaker that is still off, or a loose terminal screw. If the screen works but heating or cooling does not respond, the wrong wire may be in the wrong terminal, or the thermostat may not be configured for your system type.
Quick troubleshooting table
| Problem | Likely cause | What to do |
|---|---|---|
| Thermostat stays blank | No power, loose wire, or no C-wire support | Check breaker, reseat wires, verify power requirements |
| Heat will not turn on | Wrong wiring or system setup | Confirm terminal labels and thermostat configuration |
| Cooling runs constantly | Miswired fan or cooling terminal | Power down and verify each connection |
| System short cycles | Improper configuration or thermostat placement | Review settings and confirm the unit is away from heat sources |
How to Decide If You Should Hire a Pro
There is no prize for forcing a DIY install if the system is beyond your comfort level. A professional install can be the better choice when the wiring is unclear, the system is complex, or the thermostat manufacturer’s instructions are not enough to confirm a safe setup.
Hiring a pro is also smart if you want peace of mind and do not want to risk damaging an expensive HVAC control board. The cost of help may be worth it if the job includes wiring corrections, C-wire work, or special system configuration.
Choose DIY if:
- Your existing thermostat wiring is clearly labeled.
- The new thermostat is rated for your HVAC system.
- You are comfortable turning off power and following a wiring diagram.
Choose a professional if:
- You are dealing with line-voltage heating.
- The wiring is confusing or damaged.
- Your system uses a heat pump or multi-stage setup and you are not sure how to configure it.
- You want the installation checked before anything is powered on.
FAQ
Do I need to turn off the breaker before replacing a thermostat?
Yes. Turning off the breaker is the safest way to prevent shock and reduce the chance of damaging the HVAC control board. Do not rely on the thermostat display being off.
What if my home does not have a C-wire?
Some smart thermostats can still work without a C-wire, while others need one or an adapter. Check the installation instructions for your specific thermostat and your HVAC setup before proceeding.
Can a smart thermostat work with any HVAC system?
No. Compatibility varies by system type, voltage, and wiring. Some systems are easy to support, while others need special adapters or professional installation.
Is installing a smart thermostat harder than a regular thermostat?
Often, yes, because smart thermostats may need more power and more precise configuration. The wiring is still usually manageable for DIYers if the system is standard and the instructions are clear.
What is the biggest mistake people make?
The most common mistake is mixing up wires or skipping the wiring photo before removal. Another frequent issue is not checking whether the thermostat actually matches the HVAC system type.
Conclusion
So, can i install smart thermostat myself? In many homes, yes — if the wiring is simple, the system is compatible, and you take safety seriously. The best path is to confirm compatibility first, shut off power, label every wire, and follow the installation guide step by step.
If anything about the wiring, voltage, or system type feels uncertain, stop and bring in an HVAC professional. That small decision can save time, protect your equipment, and help your smart thermostat work the way it should.