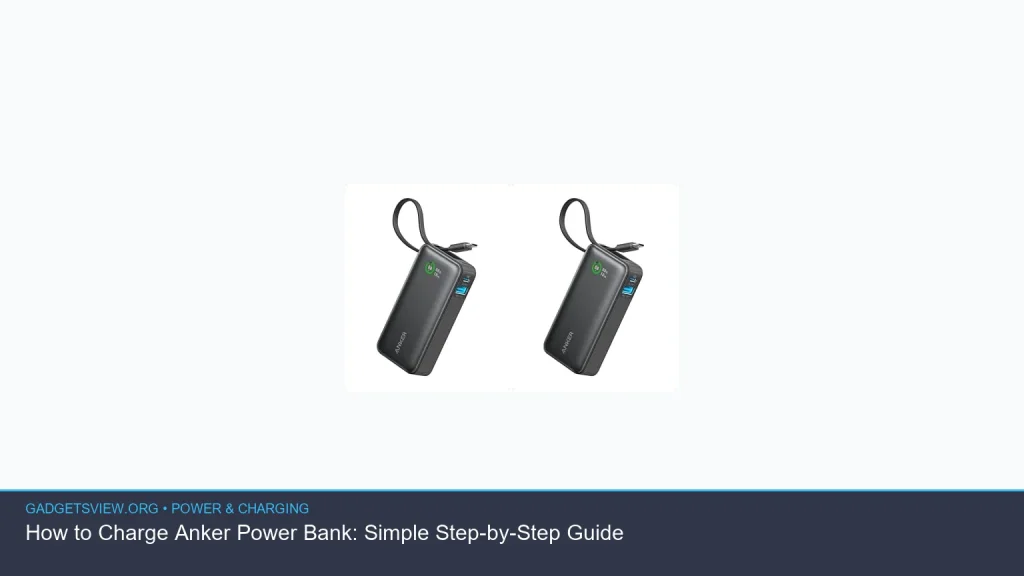
If you need to how to charge Anker power bank models correctly, the process is usually simple: use the right cable, connect the power bank to a reliable power source, and watch for the charging light or display to confirm it is working. The exact port and indicator can vary by model, but the basic steps are the same. This guide walks you through the safest, easiest way to charge an Anker power bank, plus what to do if it seems slow or won’t charge at all.
📖 Table of Contents
📌 Key Takeaways
- Use the correct input port on your Anker power bank and a good-quality charging cable.
- Plug the power bank into a stable wall charger for the fastest and most reliable charging.
- Check the LED lights or display to confirm charging status and estimate remaining charge.
- If charging is slow or fails, test a different cable, adapter, and outlet before assuming the power bank is defective.
What You Need Before You Start
Before you charge an Anker power bank, take a moment to check the ports on the device. Some models use USB-C for input, while others may use Micro-USB, and some support more than one charging method. The right port matters, because plugging into an output port will not charge the power bank.
You will also need a compatible wall charger or power source and a cable that matches the input port. A wall adapter is usually the best option because it provides steadier power than a laptop USB port or a low-output charger.
If your power bank came with a cable in the box, that is often the safest place to start. If not, use a cable that is in good condition, with no fraying, bent connectors, or loose ends.
How to Charge Anker Power Bank Step by Step
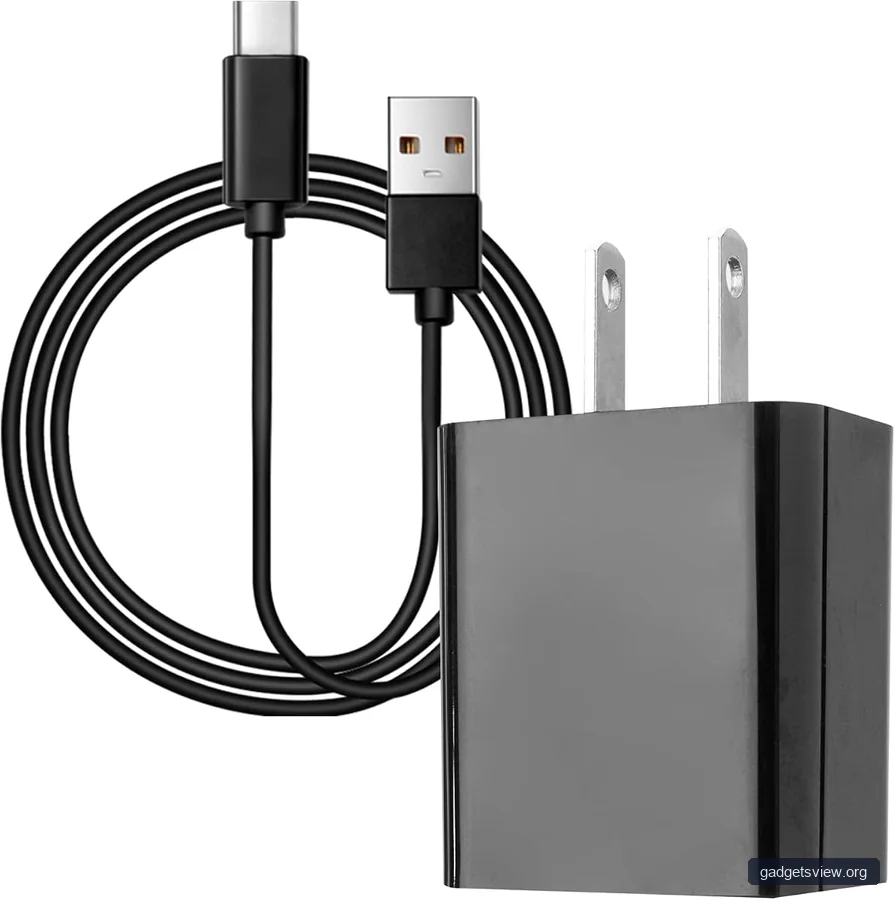
Here is the basic process for how to charge Anker power bank devices in a safe, reliable way.
- Find the input port. Look for the port labeled as input, often marked with “IN” or identified in the manual.
- Connect the charging cable. Plug the smaller end into the power bank and the other end into your charger.
- Plug the charger into a power source. Use a wall outlet whenever possible for the most consistent charge.
- Watch for charging indicators. Most models use LED lights or a digital display to show that charging has started.
- Leave it until fully charged. When the indicators show full charge, unplug the cable and store the power bank in a cool, dry place.
If your model supports USB-C input, charging may be faster and more convenient than older connections. If your unit uses Micro-USB, the charging process is still the same, but it may take longer depending on the charger and cable used.
Simple charging tips that help
- Charge the power bank on a flat surface with room for airflow.
- Use a wall charger that is in good condition and properly rated for the device.
- Do not cover the power bank while it is charging.
- Unplug it once fully charged to avoid unnecessary heat buildup.
How to Tell If Your Anker Power Bank Is Charging
Most Anker power banks give some kind of visual signal while they charge. This may be a row of LED lights that blink, a light that pulses, or a numeric display that shows the battery level rising. The exact pattern depends on the model, so the user guide is the best source for the meaning of each light.
If you see no lights at all, the power bank may not be receiving power. That can happen if the cable is damaged, the charger is weak, the outlet is off, or the wrong port is being used.
Some power banks can feel slightly warm during charging. That is usually normal, but the device should not become hot to the touch. If it does, unplug it and let it cool down before trying again.
Best Way to Charge It for Speed and Reliability

The best way to charge an Anker power bank is with a wall charger and a cable that matches the input port exactly. That setup is usually more reliable than charging from a computer USB port, which often provides less power. A steady wall connection also helps prevent interruptions that can slow charging.
| Charging Method | Strengths | Limitations | Best For |
|---|---|---|---|
| Wall charger | Most reliable, often fastest, stable power | Needs access to an outlet | Everyday charging |
| Laptop USB port | Convenient when away from a wall charger | Often slower and less consistent | Backup charging |
| Low-power adapter | Easy to find | May charge very slowly | Short-term use only |
Who should choose what? If you want the most dependable setup, use a wall charger. If you are traveling and only have a laptop available, that can work in a pinch. If speed matters, avoid weak or aging USB sources whenever possible.
Common Charging Problems and How to Fix Them
If your power bank will not charge, do not assume it is broken right away. The problem is often a cable, adapter, or outlet issue. A few quick checks usually solve it.
| Problem | Likely Cause | What to Try |
|---|---|---|
| No lights or display | Dead outlet, bad cable, wrong port | Try another outlet, cable, and input port |
| Charges very slowly | Low-power charger or cable | Use a wall charger with a better cable |
| Stops and starts | Loose connection or damaged cable | Firmly reconnect or replace the cable |
| Gets unusually hot | Poor ventilation or device issue | Unplug, cool down, and inspect for damage |
If your power bank still does not respond after these checks, consult the user manual for model-specific troubleshooting steps. If the device is damaged, swollen, or smells unusual, stop using it and contact support through the official Anker channel.
Charging Mistakes to Avoid
A few simple mistakes can shorten the life of a power bank or make charging unreliable. The biggest one is using the wrong port, especially if the device has both input and output ports that look similar.
Another common mistake is using poor-quality cables. A worn or cheap cable may still fit, but it may not carry power well or consistently. That can lead to slow charging or repeated disconnects.
You should also avoid charging the power bank in very hot or very cold conditions. Extreme temperatures can affect battery health and may trigger safety protections that slow or stop charging.
- Do not use a damaged cable or adapter.
- Do not charge on a bed, sofa, or other surface that traps heat.
- Do not ignore unusual warmth, swelling, or smell.
- Do not guess at the port type if the label is unclear; check the manual.
FAQ: How to Charge Anker Power Bank
How long does it take to charge an Anker power bank?
Charging time depends on the model, battery size, cable, and charger output. A wall charger usually gives the best result, while a laptop port is often slower. If you need exact times, check the product manual for your specific model.
Can I charge an Anker power bank with my phone charger?
Often yes, as long as the charger and cable match the power bank’s input port and provide compatible power. Still, some phone chargers may be slower than a dedicated wall adapter. When in doubt, check the manual.
Should I leave my power bank plugged in overnight?
It is usually better to unplug it once it reaches full charge. While many modern power banks have built-in protection, leaving any battery connected longer than needed is not ideal for long-term care.
Why is my Anker power bank blinking while charging?
Blinking usually means the unit is actively charging, but the pattern can differ by model. Some power banks blink to show charge progress, while others use blinking to signal a problem. The user guide will explain the light pattern for your device.
Can I use the power bank while it is charging?
Some models support pass-through charging, but not all do. If your manual does not clearly say it is supported, avoid assuming that it is safe or intended for your unit.
Conclusion
Learning how to charge Anker power bank devices is mostly about using the correct port, a good cable, and a stable power source. Start with a wall charger, confirm the charging lights or display, and switch cables or outlets if the device does not respond. If problems continue, check the manual for your exact model and contact official support if needed.
The simplest next step is to inspect your power bank’s input port, gather the right cable, and charge it from a dependable wall outlet. That small routine can save time, reduce frustration, and help keep the battery in better shape over time.