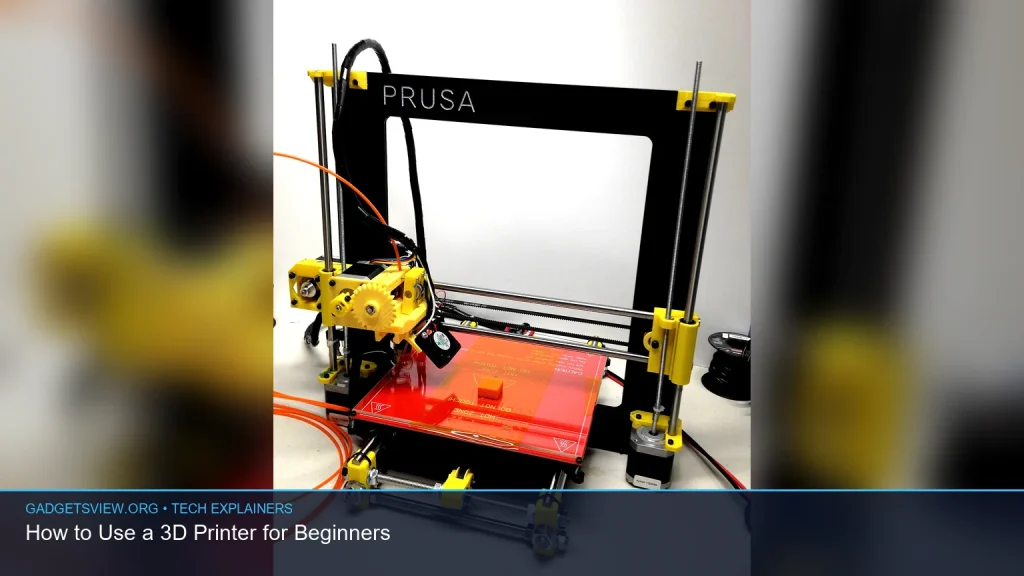
If you want to learn how to use 3d printer for the first time, the process is simpler than it may look. The key is to start with a good 3d printer setup, level the build surface, load filament correctly, and print a basic model before moving to advanced materials or settings. This guide walks you through the full beginner workflow, common mistakes, and the small upgrades that make printing easier. By the end, you’ll know what to do, what to avoid, and when to troubleshoot.
📖 Table of Contents
- What a 3D printer does, in plain English
- How to use 3D printer: the beginner setup process
- How to prepare the slicer and printer settings
- Printing your first object the right way
- Troubleshooting common beginner problems
- Useful accessories and upgrades that actually help
- FAQ: beginner 3D printer questions
- Conclusion: start simple, then improve step by step
📌 Key Takeaways
- Start with a simple print, not a complex model. A successful first layer matters more than speed or fine detail.
- Most beginner issues come from bed leveling, poor adhesion, wrong temperature, or bad filament loading.
- Learn the basics of the 3d printer build plate, nozzle, cooling, and slicing software before chasing advanced settings.
- With the right setup, a beginner can get reliable results without expensive upgrades or complicated tuning.
What a 3D printer does, in plain English
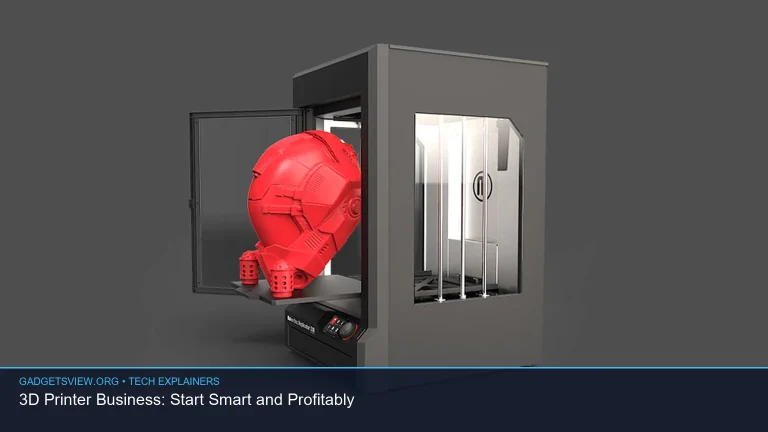
A 3D printer turns a digital model into a physical object by melting plastic and placing it one thin layer at a time. Before printing, you usually need slicing software, which converts the model into instructions the printer can follow. That means the machine is not just “printing”; it is reading movement, temperature, and layer data.
For beginners, the most important idea is this: a 3D printer is only as good as its setup. If the first layer sticks well and the machine is calibrated correctly, the rest of the print has a much better chance of success. If the first layer fails, the whole job usually fails too.
How to use 3D printer: the beginner setup process
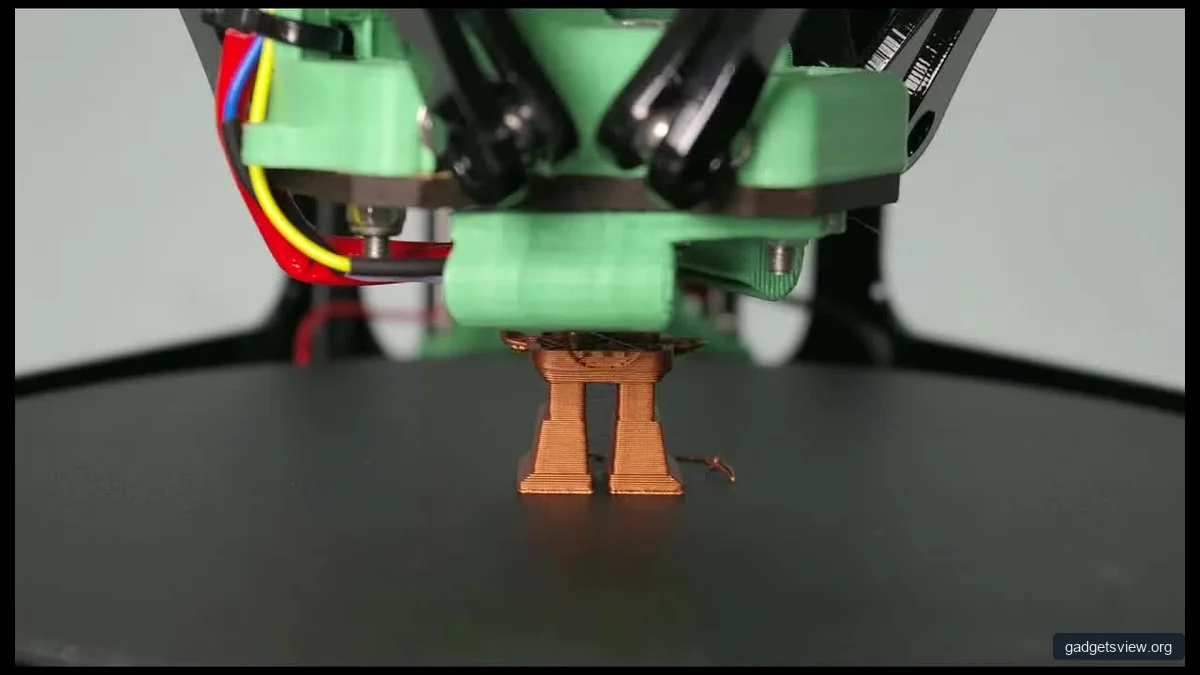
The basic 3d printer setup process follows the same order on most machines. You want the printer stable, clean, level, and loaded with the right filament before you start your first job. A careful setup saves time later because it reduces stringing, warping, and failed prints.
- Place the printer on a sturdy 3d printer table. The surface should be flat and firm. A wobbly table can affect print quality and create layer shifts.
- Check assembly and wiring. Make sure belts, rods, fans, and cables are secure. If your printer arrived partially assembled, follow the manual step by step.
- Power on and run the home command. This lets the printer find its limits and confirm that the axes move correctly.
- Level the build plate. The 3d printer build plate must be even so the nozzle stays the right distance from the surface.
- Load filament. Insert the plastic into the extruder and wait until melted material flows from the nozzle.
- Choose a simple test model. Start with a calibration cube or a basic tool holder instead of a complex figure.
- Start the print and watch the first layer. Stay nearby until you know the print is adhering correctly.
If your printer has an auto-leveling system, do not skip the visual check. Auto-leveling helps, but it does not fix every issue. A clean plate and a correct first-layer height still matter a lot.
Build plate basics
The build plate is the surface where the object forms. Some plates are smooth, while others are textured to help with grip. If prints are sticking too hard or not sticking at all, the surface may need cleaning, adjustment, or a different bed temperature.
Many beginners also ask about a 3d printer heated bed. A heated bed can improve adhesion and reduce warping, especially with larger prints. It is especially useful when you print materials that shrink as they cool.
How to prepare the slicer and printer settings
The slicer turns your 3D model into toolpaths, and those settings strongly affect the final result. For a beginner, the goal is not perfection. It is a clean, dependable first print with settings that are easy to understand and easy to repeat.
| Setting | Beginner-friendly starting point | Why it matters |
|---|---|---|
| Layer height | Moderate, not ultra-fine | Easier to print and less likely to fail |
| Print speed | Slow to medium | Improves detail and adhesion |
| Infill | Low to moderate | Saves time and filament |
| Supports | Use only when needed | Reduces cleanup and surface marks |
Keep an eye on the nozzle size too. Different 3d printer nozzle sizes change print speed and detail. A smaller nozzle can give finer detail, while a larger one can move material faster. Beginners usually get better results by starting with the stock nozzle rather than changing it too soon.
The 3d printer cooling fan also matters. More cooling can help overhangs and fine details, but too much cooling can hurt layer bonding on some materials. If you are unsure, use the default profile first and adjust one setting at a time.
Printing your first object the right way
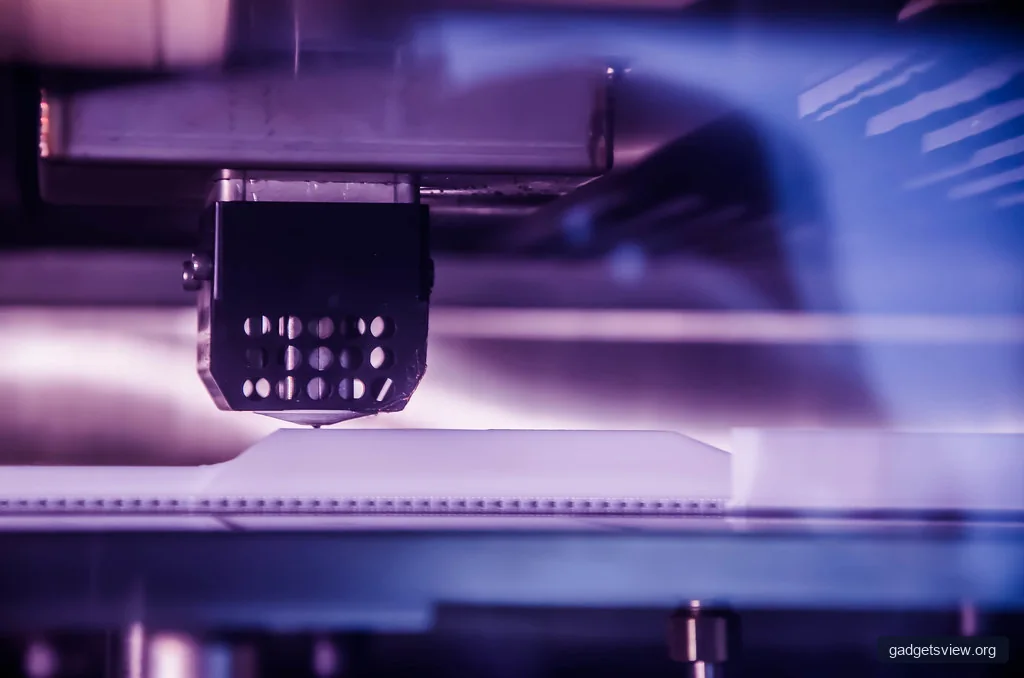
The best first print is small, simple, and practical. A calibration cube, spool holder, or cable clip is easier to judge than a decorative model with thin limbs and tiny details. You want a print that tells you whether the machine is feeding plastic, moving smoothly, and sticking to the bed.
- Preheat the printer if your material needs it. PLA is usually easy to start with, while other filaments may need more care.
- Watch the first layer closely. The lines should touch each other without being too squished or too round.
- Check for even extrusion. If the filament appears thin, missing, or jammed, pause and inspect the feed path.
- Leave the printer alone once it is stable. Small fluctuations are normal. Constant touching or moving the machine can cause problems.
- Let the print cool before removing it. Pulling parts off too early can damage the model or the plate.
Many beginners also wonder about 3d printer tolerance. In simple terms, tolerance is how closely printed parts match the intended size. If you want pieces to fit together, you may need a small clearance between them because printed plastic is not always exact. Test prints help you learn what your printer can do reliably.
How to tell if the first layer is good
A good first layer looks smooth, even, and connected. The lines should not look like loose spaghetti, and they should not be so flat that the nozzle scrapes the bed. If the first layer fails, stop early and fix the issue rather than hoping the rest of the print will recover.
Troubleshooting common beginner problems
Most early problems are normal and fixable. The key is to match the symptom to the likely cause. Small adjustments often solve the issue without needing major upgrades.
| Problem | Likely cause | What to try first |
|---|---|---|
| Print will not stick | Bed not level, dirty surface, wrong temperature | Clean the plate, re-level, adjust bed heat |
| Stringing | Temperature too high or retraction issues | Lower nozzle temp slightly, check retraction |
| Warping | Cooling too fast, bed not hot enough, drafts | Use a heated bed and reduce airflow |
| Clogs or weak extrusion | Dirty nozzle, bad filament, heat creep | Check filament path, clean or replace nozzle |
If cleaning does not help, you may need 3d printer nozzle replacement. A worn or clogged nozzle can cause under-extrusion, rough lines, and inconsistent output. Keep a spare on hand only if your printer manual supports easy replacement and you are comfortable with the process.
If you plan to print with ABS, a 3d printer for abs usually needs more than a basic open-frame setup. ABS can warp more easily than beginner-friendly materials, so a stable temperature environment helps. This is where a diy 3d printer enclosure can be useful, since it helps reduce drafts and temperature swings.
Useful accessories and upgrades that actually help
You do not need a lot of extras to begin, but a few 3d printer accessories can make printing easier and more consistent. The best accessories solve a real problem, like bed adhesion, filament drying, or safe storage. Skip the rest until you know what your printer truly needs.
| Accessory | Best for | Why it helps | Limitations |
|---|---|---|---|
| Bed scraper or removal tool | Print removal | Makes part removal safer | Can damage the plate if used carelessly |
| Filament dry box | Moisture control | Helps filament stay consistent | Not necessary for every material |
| Enclosure | Warp-prone materials | Reduces drafts and temperature swings | May trap too much heat for some printers |
| Camera | Remote monitoring | Lets you check long prints from a distance | Does not fix print quality issues |
A 3d printer camera is useful if you print long jobs and want to check progress without standing by the machine the whole time. It is a convenience tool, not a quality fix. If your printer already prints reliably, a camera can be helpful; if not, focus first on leveling and temperature.
Who should choose what
If you are brand new, start with a sturdy table, basic cleaning tools, and a simple slicer profile. If you print PLA most of the time, keep the setup simple and avoid unnecessary upgrades. If you want to print ABS or other more demanding materials, an enclosure and better temperature control become more relevant.
FAQ: beginner 3D printer questions
How often should I clean the build plate?
Clean it whenever prints stop sticking well or after touching the surface with bare hands. Oils from skin can reduce adhesion. A clean 3d printer build plate often solves problems faster than changing settings.
When should I replace the nozzle?
Consider 3d printer nozzle replacement if you see repeated clogs, poor extrusion, or visible wear that cleaning does not fix. Nozzles are wear parts. If you print abrasive filaments, they may wear faster.
Do I need an enclosure?
Not for every printer or every material. A diy 3d printer enclosure can help with drafts and temperature stability, especially for ABS. For basic beginner printing, many users can start without one.
What nozzle size should I use?
Most beginners should start with the nozzle that came with the printer. Changing 3d printer nozzle sizes affects detail, speed, and flow behavior. Switch only when you have a clear reason, like faster large-part printing or finer detail.
Can I monitor prints remotely?
Yes, many users add a 3d printer camera for remote viewing or time-lapse footage. It is handy for long prints, but it does not replace good setup or early troubleshooting. Still watch the first layer in person when possible.
Conclusion: start simple, then improve step by step
Learning how to use 3d printer is mostly about good habits: stable setup, careful leveling, simple first prints, and patient troubleshooting. Once you understand those basics, the rest becomes much easier. Start with one successful print, then make small changes as you learn what your machine likes.
Your next step is simple: pick a basic model, clean and level the build plate, load filament, and watch the first layer closely. After that, you can explore better slicing settings, helpful accessories, and more advanced materials with confidence.